Automate WordPress Theme Deployments with GitHub Actions and SSH
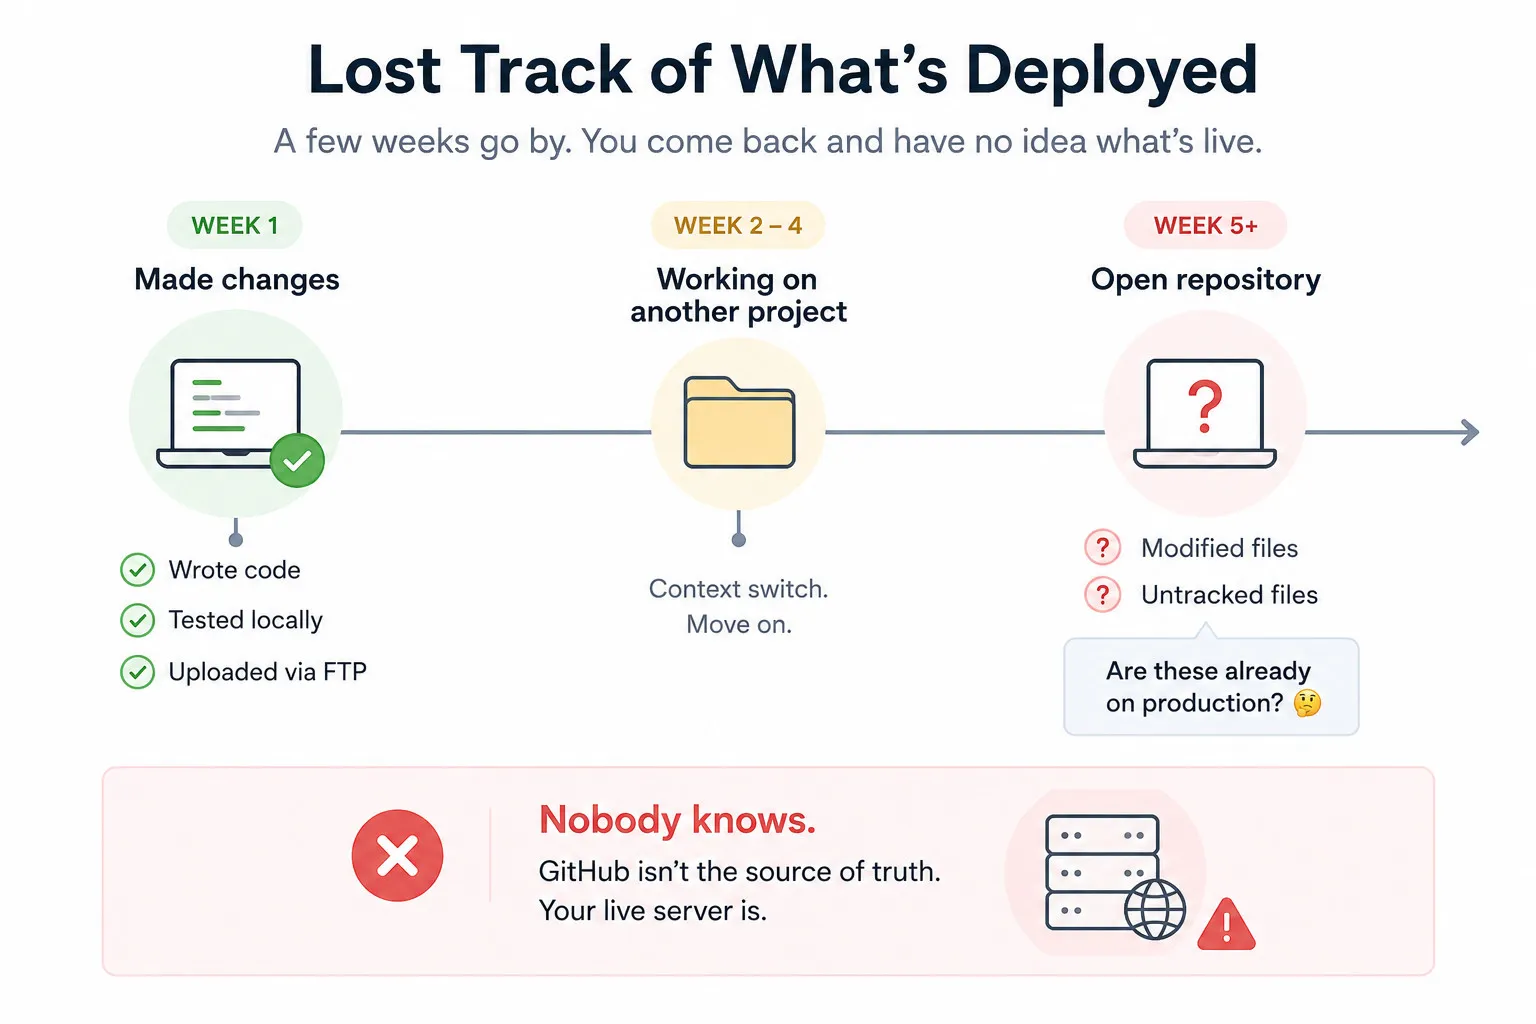
There’s a workflow pattern that’s common across WordPress development: you keep a local copy of the site, build and test everything locally, and when things look good, you upload the updated theme to the live server via FTP or cPanel.
It works. Until it doesn’t.
The problem shows up weeks later, when you open the repository and notice modified or untracked files. It’s easy to forget that some sites go untouched for weeks at a time, and that gap is long enough to lose track of what actually made it to production.
That’s when the confusion started.
Then I’d ask myself:
Are these changes already on production, or did I forget to deploy them?
Sometimes I’d end up downloading the live theme just to compare files manually.
Not because Git was broken. But because GitHub wasn’t my source of truth anymore. The production server was.
In this guide I’ll walk you through the exact setup I use to deploy a WordPress theme automatically, every time, straight from GitHub.
The Problem with Manual Uploads
The problem wasn’t FTP.
The problem wasn’t Git.
The real problem was the workflow.
It looked something like this:
Local changes
      ↓
Upload via FTP
      ↓
Production server
      ↓
(Maybe commit later...)
Sometimes I’d remember to commit after deploying.
Sometimes I wouldn’t. Switching between multiple projects made it easy to move on and forget to come back.
Months later, Git could no longer answer a simple question:
What’s currently running on production?
When Git can’t answer that question, it stops being the source of truth.
The Approach
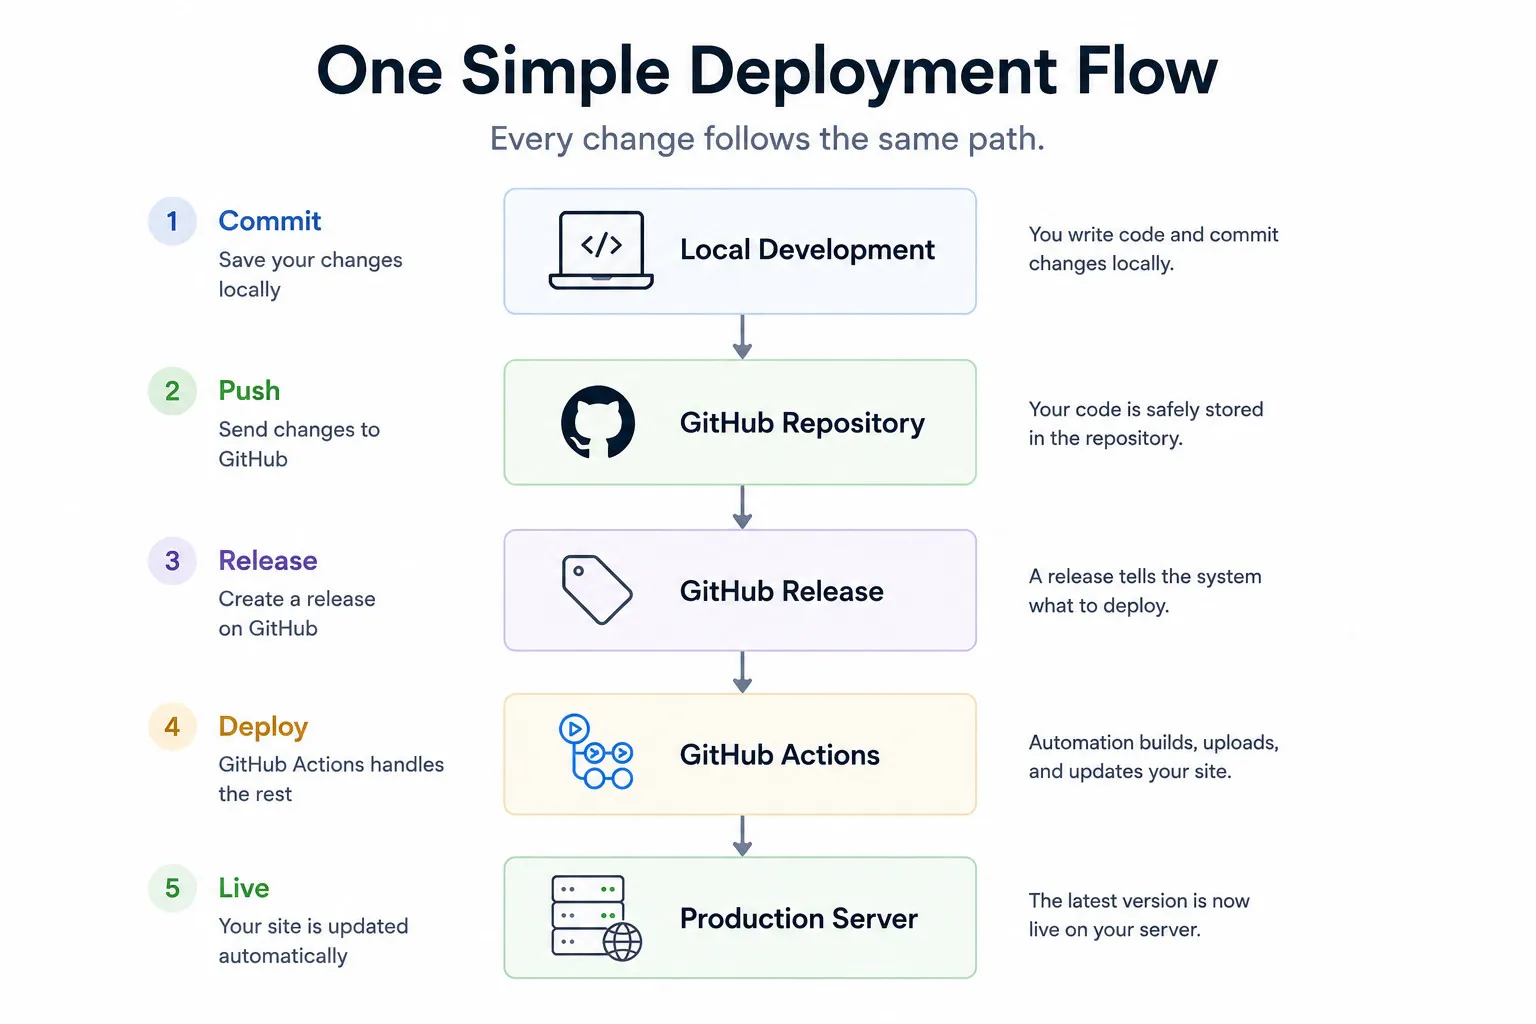
One simple rule replaces the entire old workflow:
Never deploy directly to the server. Every deployment starts from GitHub.
Now every change follows exactly the same path.
- Make changes locally
- Commit
- Push
- Create a GitHub Release
- GitHub Actions deploys automatically
No FTP. No cPanel uploads. No “I’ll commit later.”
What You’ll Need
- A WordPress theme stored in a GitHub repository
- SSH access to your production server
- A GitHub account
Step 1: Create the Workflow File
Create this file inside your repository. It must be on your default branch (main or master) for GitHub Actions to pick it up.
.github/workflows/deploy.ymlname: Deploy Theme to Production
on:
release:
types: [published]
jobs:
deploy:
runs-on: ubuntu-latest
steps:
- name: Checkout code
uses: actions/checkout@v4
- name: Setup SSH
run: |
mkdir -p ~/.ssh
echo "${{ secrets.SSH_PRIVATE_KEY }}" > ~/.ssh/deploy_key
chmod 600 ~/.ssh/deploy_key
echo "Host YOUR_SERVER_IP
HostName YOUR_SERVER_IP
Port YOUR_SSH_PORT
User YOUR_SSH_USER
IdentityFile ~/.ssh/deploy_key
StrictHostKeyChecking no" > ~/.ssh/config
- name: Create theme zip
run: |
THEME_NAME="your-theme-folder-name"
cd "$GITHUB_WORKSPACE/.."
zip -r /tmp/${THEME_NAME}-deploy.zip "$THEME_NAME" \
-x "*.git*" \
-x "*node_modules*" \
-x "*docs/*" \
-x "*.md" \
-x "*.DS_Store" \
-x "*/.claude/*" \
-x "*/bin/*" \
-x "*/bin/**" \
> /dev/null
- name: Upload to server
run: |
scp /tmp/your-theme-folder-name-deploy.zip \
your-user@YOUR_SERVER_IP:~/public_html/wp-content/themes/
- name: Extract on server
run: |
ssh your-user@YOUR_SERVER_IP << 'EOF'
cd ~/public_html/wp-content/themes/
unzip -o your-theme-folder-name-deploy.zip > /dev/null
rm your-theme-folder-name-deploy.zip
echo "Deployed successfully"
EOFOnce a release is published, the workflow:
- Checks out the latest code
- Creates a production ZIP
- Excludes development files
- Uploads the ZIP via SSH
- Extracts it on the server
- Removes temporary files
The .git folder is excluded from the ZIP and never lands on the server.
Step 2: Add Your SSH Key to GitHub
First, get your private key from your local machine:
cat ~/.ssh/id_rsaThen add it to your repository:
Settings
→ Secrets and variables
→ Actions
→ New repository secret
Secret name:
SSH_PRIVATE_KEYValue: the full contents of ~/.ssh/id_rsa, including the header and footer lines.
Once this is configured, you never need to touch it again.
Step 3: Push and Create a Release
After making your theme changes:
git add .
git commit -m "Updated hero section"
git push origin main
Then create a GitHub Release using the CLI:
gh release create v1.2.0 \
  --title "v1.2.0" \
  --notes "Updated hero section"
Or create the release from the GitHub web interface.
That’s all. GitHub Actions handles the deployment automatically.
Step 4: Verify the Deployment
Even with automation, it’s worth confirming the deployment actually reached the server.
Before creating the release, add a traceable line to a log file:
echo "= v1.2.0 deployed =" >> changes-log.txtAfter deployment, check it landed:
ssh your-user@your-server \
"head -3 ~/public_html/wp-content/themes/your-theme/changes-log.txt"
A quick sanity check that confirms the latest release is live.
Notes for Shared Hosting
A few things worth knowing if you’re on a shared host:
rsyncis often blocked. The zip and SCP approach above works on any host with SSH access.- Git does not need to be installed on the server. The GitHub Actions runner handles everything and only uploads the final ZIP.
- The
.gitfolder is excluded from the ZIP, so it never lands on the server. - If a push fails with a 400 error, increase the HTTP buffer size:
git config http.postBuffer 524288000Before vs After
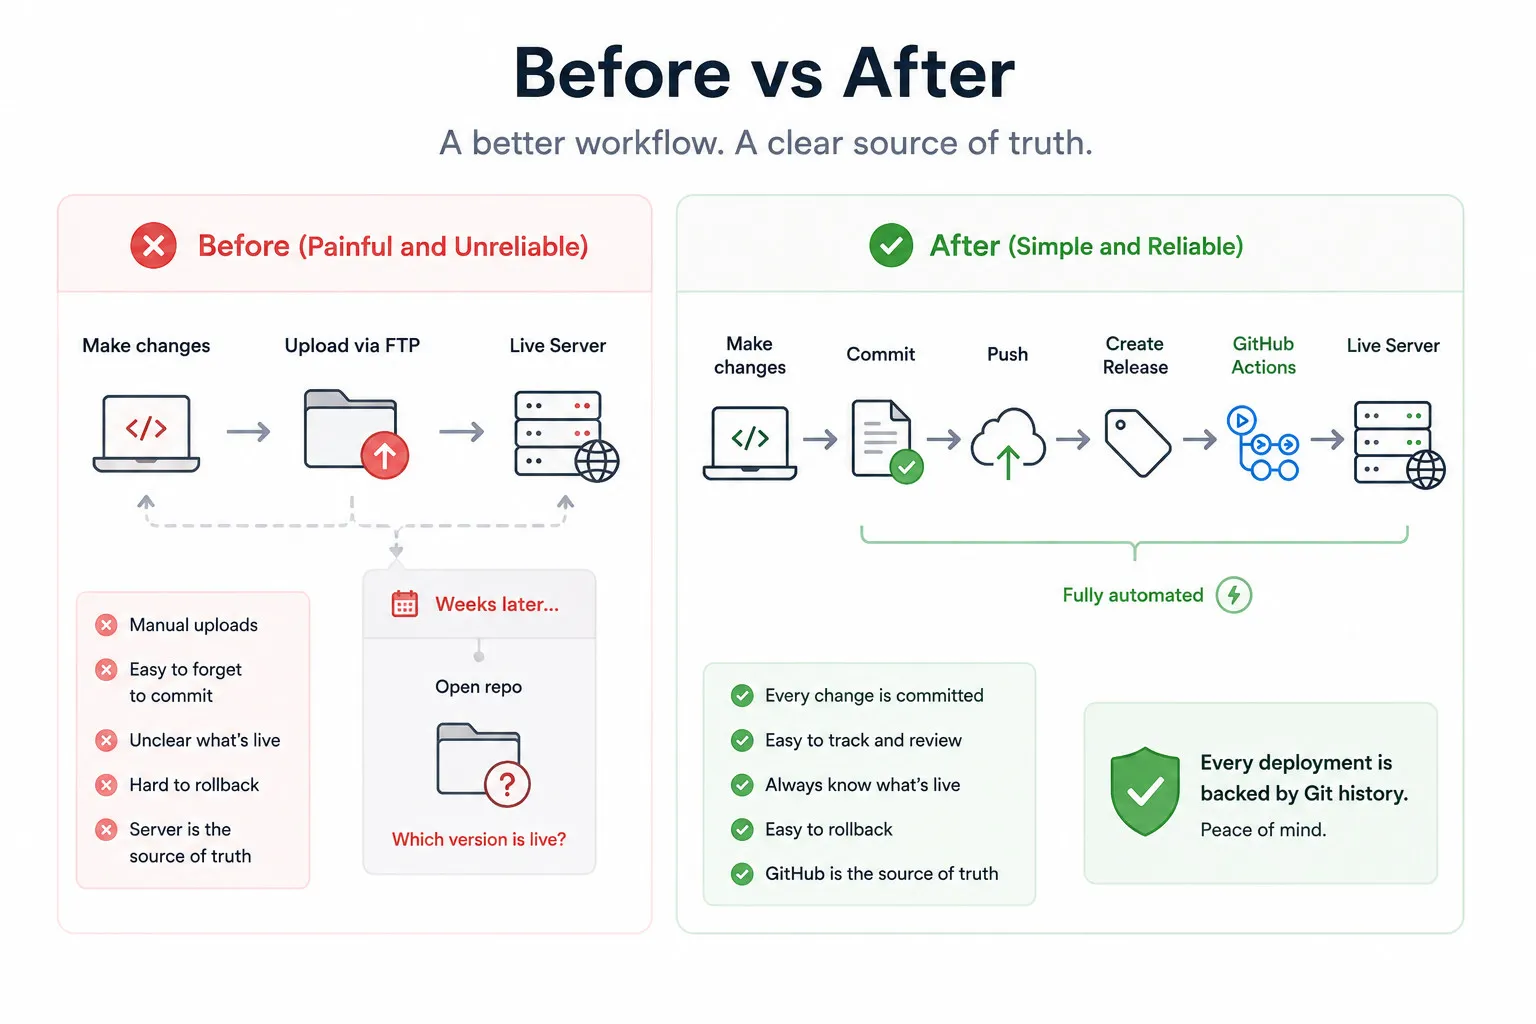
The biggest improvement isn’t saving a few clicks.
It’s eliminating uncertainty.
Before:
- Production could contain changes that Git didn’t.
- Manual uploads were easy to forget.
- I wasn’t always sure what was live.
After:
- Every deployment starts from Git.
- Every production release has a commit history.
- GitHub always reflects exactly what’s running on the server.
Final Thoughts
This is one of those small workflow improvements that quietly saves time over the long run.
My website only gets updated every few weeks, which makes it surprisingly easy to forget what happened during the last deployment.
By making GitHub the only deployment path, I removed that uncertainty completely.
Now every deployment is reproducible.
Every release has a history.
Every production change can be traced back to a Git commit.
If you’re still uploading themes manually, I’d recommend giving GitHub Actions a try. The initial setup takes a little time, but afterward deploying becomes as simple as creating a release and you’ll always know exactly what’s running in production.
Want a smoother WordPress workflow?
Deployment is one piece of a healthy WordPress setup. If you want help wiring up CI/CD, cleaning up a fragile deploy process, or hardening a production site, book a free discovery call.
Or browse my WordPress and WooCommerce services to see how I can help.